
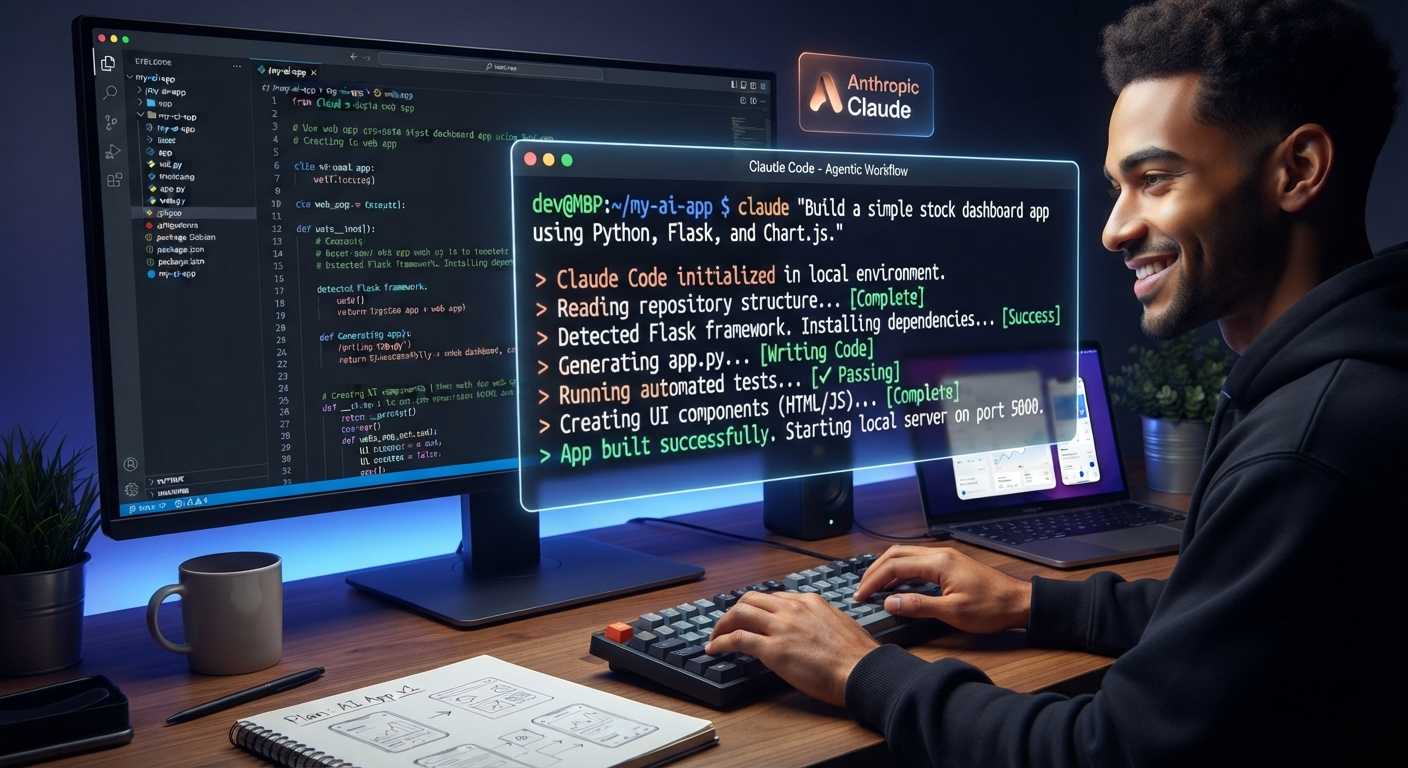
Welcome to software development in the era of agentic artificial intelligence. Unlike traditional AI chat interfaces where developers must manually copy and paste code snippets back and forth, Claude Code is Anthropic’s agentic command-line assistant. Operating directly inside your local environment, IDE, or terminal, Claude Code reads your repository structure, writes and edits files, executes shell commands, runs automated test suites, and manages Git workflows autonomously while taking strategic direction from you in natural language.
This beginner tutorial provides a structured, step-by-step roadmap for installing, configuring, and mastering application development with Claude Code. By combining software engineering best practices with Anthropic’s AI Fluency framework, you will learn how to turn abstract app ideas into fully tested, production-ready software.
Jump to contents:
- 1. Installation, Setup, and Environment Verification
- 2. The Core App Development Workflow: Explore → Plan → Build → Verify → Commit
- 3. Persistent Memory and Context Budget Optimization
- 4. Hands-On Tutorial: Building a Web Application from Scratch
- 5. Beginner Pitfalls and AI Fluency Best Practices
1. Installation, Setup, and Environment Verification
Before launching your first agentic development session, you must select an account tier, run the native installation script, and verify your local execution environment.
1.1 Account Tiers and Pricing Models
As documented in official Anthropic pricing guides, Claude Code connects to Claude 3.5 Sonnet and Claude 3.7 Sonnet models. It requires an active paid account or API credit allocation.
| Account Tier | Monthly Cost / Structure | Target Audience & Usage Capability |
| Claude Pro | $20 / month ($17 / month billed annually) | Recommended starting point for beginners, learners, and personal projects. |
| Claude Max & Ultra | Higher-tier monthly subscriptions | Designed for full-time developers requiring high daily message volumes. |
| Claude Team & Enterprise | $25 / seat / month (or Premium seats with 5x usage) | Designed for engineering teams requiring pooled usage and administrative controls. |
| Anthropic Console | Pay-as-you-go via pre-paid API credits | For developers who prefer per-token billing without a recurring subscription. |
1.2 Installing Claude Code via Native Installers
Anthropic strongly recommends installing Claude Code using the native installer script rather than package managers such as npm. The native installer automatically configures background auto-updates on the stable release channel, ensuring your CLI remains secure and up to date without manual intervention.
Open your terminal and execute the command corresponding to your operating system:
# macOS, Linux, and Windows Subsystem for Linux (WSL)curl -fsSL https://claude.ai/install.sh | bash# Windows PowerShell (Native Windows 10/11)irm https://claude.ai/install.ps1 | iex:: Windows Command Prompt (CMD)curl -fsSL https://claude.ai/install.cmd -o install.cmd && install.cmd && del install.cmd
For developers who rely on system package managers, alternative installation channels are also supported:
# macOS via Homebrew Caskbrew install --cask claude-code# Windows via WinGetwinget install Anthropic.ClaudeCode
Important Note for Native Windows Users: According to developer installation guides, native Windows setups should install Git for Windows. Git for Windows equips Claude Code with a local Bash environment. Without it, Claude Code falls back to PowerShell execution tools.
1.3 Launching Your First Session and Authentication
After running the installer, close your terminal and open a new terminal window to refresh your system environment variables. Verify that the CLI is accessible:
claude --versionTo start a session, navigate to any code repository or project folder and launch the claude executable:
cd ~/my-first-appclaude
Upon your first launch, Claude Code opens an authentication page in your web browser. Select your Claude Pro/Max subscription or Anthropic Console account, grant authorization, and return to your terminal. Your credentials will be saved locally. If you ever need to re-authenticate or switch accounts, type /login inside an active session.
1.4 Environment Diagnostics with claude doctor
If your terminal reports that claude is not recognized, or if you encounter authentication errors, run the environment checkup utility:
claude doctorAs detailed in Steve Kinney’s developer setup guides, claude doctor performs a read-only audit of your local setup—checking PATH settings, network reachability to Anthropic API endpoints, Git configuration, and local credential storage—to pinpoint issues before you begin coding.
2. The Core App Development Workflow: Explore → Plan → Build → Verify → Commit
Building software with Claude Code is a collaborative process structured around an iterative 5-step loop: Explore → Plan → Build → Verify → Commit. Rather than handing off complete control, you act as the lead director while Claude handles code execution and file operations.
┌──────────────┐│ Explore │ (Examine codebase & clarify goals)└──────┬───────┘│▼┌──────────────┐│ Plan │ (Architect feature in /plan mode)└──────┬───────┘│▼┌──────────────┐│ Build │ (Review per-turn diffs & approve edits)└──────┬───────┘│▼┌──────────────┐│ Verify │ (Execute tests & inspect output)└──────┬───────┘│▼┌──────────────┐│ Commit │ (Save milestone in Git repository)└──────────────┘
Step 1: Codebase Exploration and Context Attachment
When launched inside an existing project, Claude Code analyzes your repository structure automatically. You do not need to manually paste file contents or explain directory trees.
Ask questions directly in plain language:
what does this project do?where is the main entry point, and what happens when the app starts?
To direct Claude’s focus to specific files, use the @ symbol for intelligent path auto-completion. For example:
explain how user permissions work in @src/middleware/auth.tsStep 2: Feature Architecture with /plan Mode
For any task larger than a minor typo fix, always enter Plan Mode before modifying code. Running /plan switches Claude Code into a read-only research state where it reads files, maps dependencies, and writes an architectural plan without editing any files.
/plan Build a user registration API endpoint in this project.- Use Node.js and TypeScript with standard modular architecture.- Write unit tests first using Node's built-in test runner (node --test).- Handle edge cases: empty fields, duplicate email registration, weak passwords.- Ensure monetary values or balances are handled as integer cents.Ask me about anything unclear before writing the plan.
Review the resulting plan carefully. As highlighted in Anthropic’s developer best practices, this is the most cost-effective moment to catch flawed approaches before code is written.
Step 3: Interactive Approval and Diff Review
When you approve a plan, Claude Code transitions into build mode. Depending on your session’s permission setting (which can be toggled at any time using Shift+Tab), Claude presents each file modification as an interactive line-by-line diff.
Review each proposed edit (added green lines and removed red lines) before granting permission:
- Approve (
Yes): Applies the file write or executes the shell command. - Decline with Feedback: Rejects the edit and provides redirection (e.g., “Use modular CSS instead of inline styles”).
- Interrupt (
Esc): PressingEschalts execution immediately while keeping all work performed up to that point.
Step 4: Verification and Test Execution
Never rely solely on an AI agent’s verbal summary that a feature is complete. Always verify changes against concrete test output.
You can execute terminal commands yourself by prefixing your prompt with !:
!node --testAlternatively, ask Claude to execute and analyze your test suite conversationally:
run the tests and show me the full outputIf tests fail, instruct Claude to read the test runner errors, write a failing unit test reproducing the defect, and refine the code until all assertions pass cleanly.
Step 5: Conversational Git Commits
Claude Code turns version control into a natural conversation. Once a feature increment passes verification, review your changes and commit your progress:
/diffcommit my changes with a descriptive message
Running /diff opens an interactive viewer showing all modified files in your working tree. Committing after every working step ensures you can easily roll back if a subsequent experiment goes off track.
3. Persistent Memory and Context Budget Optimization
Language models operate within a context window—their active working memory. As a development session progresses, carrying extensive conversation history increases latency, consumes token quotas, and can degrade model reasoning. Claude Code provides specialized tools to manage project memory and context hygiene.
3.1 Persistent Project Memory: CLAUDE.md and /init
Every new Claude Code session starts with a clean context window, with one major exception: CLAUDE.md. Claude Code loads CLAUDE.md from your project root at the start of every session in that directory.
To generate an initial project memory file, run /init:
/initClaude Code inspects your repository and constructs a starter CLAUDE.md file. Anthropic recommends keeping CLAUDE.md short and focused (under 200 lines), containing only essential commands, coding standards, and project gotchas:
# Development Commands- Run all unit tests: node --test- Run single test file: node --test test/auth.test.js- Start local dev server: npm run dev# Architecture & Stack- React with Next.js App Router, TypeScript, and Tailwind CSS.- All monetary calculations must use integer cents (no floating point decimals).# Coding Conventions & Gotchas- No external state management libraries (use native React Context).- All API routes must return JSON responses formatted as { data: object, error: string | null }.
3.2 Active Context Hygiene: /compact, /clear, and /rewind
To keep your session fast, accurate, and cost-effective, leverage Claude Code’s context management commands:
/compact—- Primary mechanism: Summarizes conversation history into a dense overview.
- Recommended use case: Use when context window usage passes 80% during long tasks. Pass custom instructions:
/compact Keep the auth schema and test commands.
/clear—- Primary mechanism: Wipes active conversation history completely (hard reset).
- Recommended use case: Use when switching to an unrelated task. Your repository files, Git history, and
CLAUDE.mdremain unchanged.
/rewind—- Primary mechanism: Rolls back conversation turns and file edits.
- Recommended use case: Trigger it via
/rewindor by double-tapping Esc. Select “Rewind code only” to revert file changes while preserving diagnostic conversation.
3.3 Monitoring Session Health and Costs
Check your resource consumption regularly during long sessions:
/context # Displays context window capacity percentage currently occupied/cost # Shows API token cost accrued in the current session (Console API users)/stats # Shows session usage statistics for Pro, Max, and Team subscribers
If context usage rises, run /compact, or switch models using /model sonnet for standard editing while reserving /model opus or extended thinking (Alt+T) for complex logic.
4. Hands-On Tutorial: Building a Web Application from Scratch
To put these commands into practice, let us walk through building a complete Personal Habit Tracker web application starting from an empty folder.
Step 1: Initialize Workspace and Launch Plan Mode
Open your terminal, create a new directory, initialize Git, and launch Claude Code:
mkdir habit-tracker && cd habit-trackergit initclaude
Enter Plan Mode with your initial specification:
/plan Build a personal habit tracker web application in this empty folder.- Single-page interface using plain HTML, CSS, and vanilla JavaScript.- Features: Add habits with name/emoji, check off habits for today, track daily streaks, and display a 7-day weekly completion grid.- Persist data in browser localStorage.- Separate data-handling functions into a standalone module with unit tests using node --test.Ask me any clarifying questions before drafting the plan.
Step 2: Approve the Plan and Build Components
Claude Code will outline its implementation strategy: creating index.html, app.js, storage.js, and storage.test.js.
Select “Yes, manually approve edits”. As Claude generates each file, inspect the diffs to ensure clean separation of concerns.
Step 3: Run Unit Tests and Verify Persistence
Once files are created, ask Claude to verify core logic against the test runner:
run the tests and show me the full outputClaude executes node --test, confirming that streak counter increments, date resets, and localStorage mock logic pass cleanly.
Step 4: Refine Styling and User Experience
Open index.html in your browser. Provide specific UI refinement prompts:
The layout is functional. Let's polish the experience:1. Add a subtle scale animation when checking off a habit card.2. Highlight today's column in the 7-day weekly grid.3. Add a friendly empty state message when no habits exist yet.
Step 5: Review Diffs and Commit Milestone
Verify your finished application, inspect your total changes, and commit your work:
run all tests/diffcommit my changes with message "Build complete Habit Tracker app with streak counter and weekly grid"
In under 30 minutes, you have planned, built, tested, and committed a fully functional web application.
5. Beginner Pitfalls and AI Fluency Best Practices
As taught in Anthropic’s AI Fluency curriculum, effective collaboration with AI coding tools relies on combining technical command usage with rigorous human judgment.
5.1 Common Beginner Mistakes to Avoid
- Vague Prompts: Asking “Make the UI better” results in generic guesses. Always name specific files, describe target behaviors, and state acceptance criteria.
- Skipping Plan Mode: Writing code immediately on complex tasks often leads to architectural dead ends. Always plan first with
/plan. - Endless Sessions: Running multiple unrelated tasks in one long conversation clutters context and inflates costs. Use
/clearbetween tasks. - Unreviewed Diffs: Approving file edits without reading diffs allows subtle bugs or unwanted refactoring into your codebase. Always inspect green and red diff lines.
5.2 Applying the 4D Framework Competencies to AI Code Development
- Delegation —
- Definition: Strategic division of labor between human and machine.
- Application in Claude Code: Delegate boilerplate code generation, test writing, and shell execution to Claude; reserve high-level system design and data security decisions for yourself.
- Description —
- Definition: Clear articulation of requirements, process, and performance.
- Application in Claude Code: Provide explicit product specs, outline process constraints, and define testing/formatting requirements in your prompts.
- Discernment —
- Definition: Critical evaluation of generated code and reasoning.
- Application in Claude Code: Inspect
/diffoutputs line-by-line, verify test output directly, and test application behavior in your browser rather than assuming perfection.
- Diligence —
- Definition: Ownership, data privacy, ethics, and accountability.
- Application in Claude Code: Run
/security-reviewbefore committing sensitive code, keep API keys in.envfiles, and take full personal responsibility for shipped software.
By pairing Anthropic’s agentic tooling with clear prompting, disciplined context management, and critical discernment, you can develop software faster, cleaner, and with complete confidence.
-love learning -your best ed lessons guide, Scott